First he said: Hi All, This was just an exercise to see if it
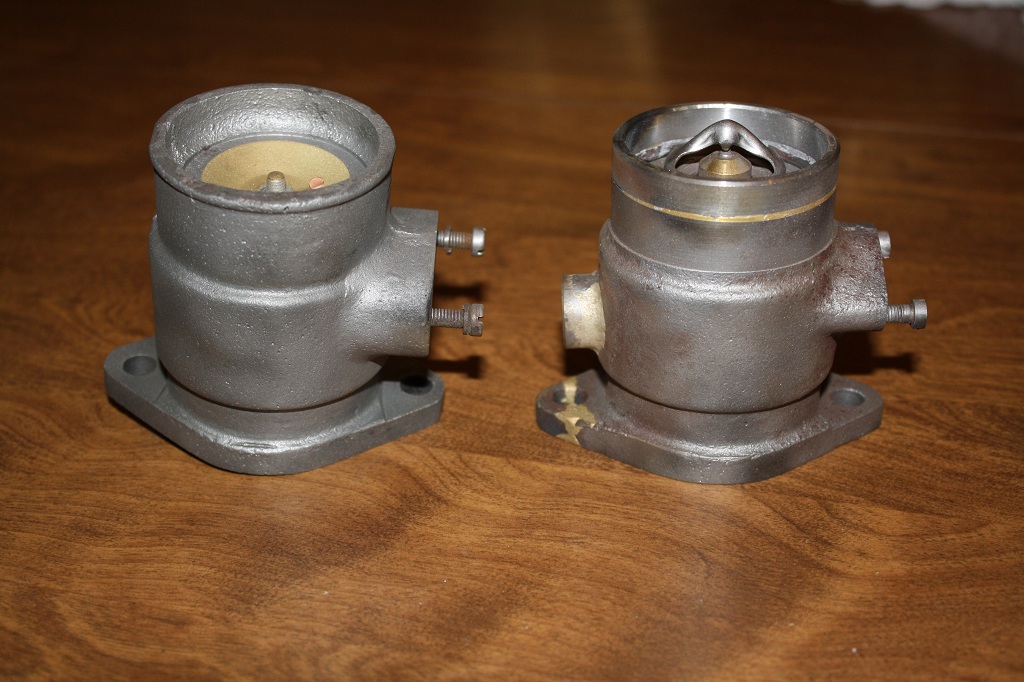
could be done. Then he said: The unit was now usable but an addition was added
to permit the temperature sensing bulb to be placed below the
thermostat. A 3/4" steel rod was found in the scrap box and drilled
out to 37/64" and tapped 3/8" BSPP (3/8 pipe - 19 TPI). This piece
was made 1/2" long. Then the housing was placed in the milling
machine and a 3/4" end mill used to put a hole in the side opposite
to the bypass elbow fitting. The threaded sleeve was brazed to the
housing. We are now all done except for paint. Here's what it looks like:
Ttalk.info
Rehabilitated Thermostat Housing
by Bob Jeffers
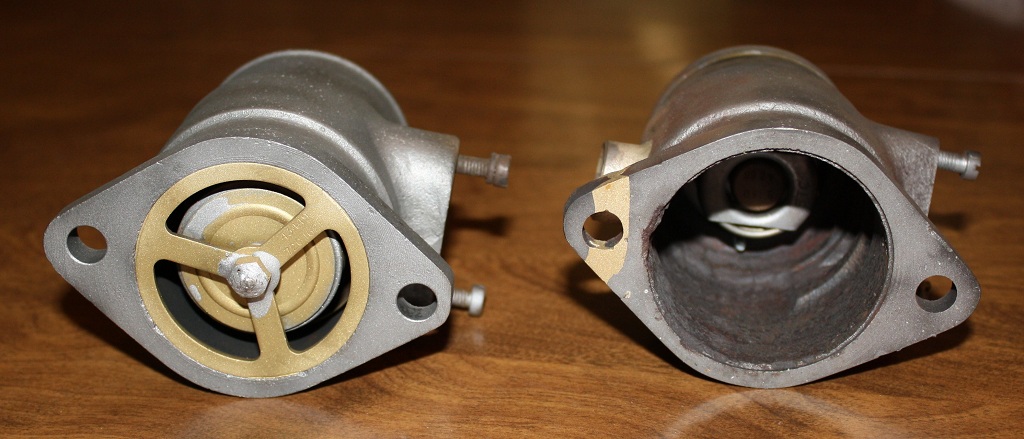
I purchased a TD type thermostat housing on ebay. It was unusable as
purchased ($5.00). The upper part that goes into the radiator hose
was so badly corroded, that big chunks were missing. Both gasket
surfaces so badly corroded that no gasket would be able to stop
leaks. No thermostat. That's where I started.
First step was to get rid of the cross piece that supported the
original thermostat. Then grip the lower flange in the lathe chuck
and open up the housing body to 1.780 - 1.800" for a new thermostat.
Then remove what was left of the collar that went into the radiator
hose.
Then remachine the gasket surfaces for the bypass hose fitting and
the elbow at the bottom.
Obtain a 3/8" thick piece of steel heavy wall tubing to replace the
collar. This was roughed out oversize so that for welding it did not
have to be precisely jigged.
This was then brazed to the the casting. When cooled it was chucked
into the lathe and the outside and inside turned to match the
casting. Then the length was turned to match the original overall
length (approx.).
The new thermostat was held to the rim inside the housing by two
4-40 screws. Also two 1/8" holes were added to allow air to escape
when filling the system.
Was this a worthwhile exercise? From a dollar standpoint no. From a
learning perspective very much so. I turned a piece of junk into a
very useable part for our beloved XPAG engines. Even added a place
to put the temp sensor so you can watch the engine warm up instead
of waiting for the thermostat to open to see what the temp of the
engine is.
Comments and questions greatfully received. I'll do my best to
answer the questions.