Molding Aftermarket kick-Panels for the TD TF
by John Crawley "From the Garage at Littlemore"Hi there:
These pictures show how I formed the kick-panels for my TF. I have a V-type break so I used that to form the bends. The bends are exact as original so I think that is how it was done back in the day but they were probably formed in the upholsterer’s cardboard before it was covered in vinyl cloth (Rexine).
It took a bit of courage to try this bend in my new Moss kick-panels as I had no idea if it would work or not but the end result is the best I have seen for repro panels . . . dumb luck. A small sheet metal shop should have one of these hand-operated V-type metal breaks so you can shop around to find one or you could improvise by scoring the bends on the back of the damp cardboard with a screen-door repair roller (hand tool that has a handle and a thin metal roller used to press the rubber that holds bug screening into a frame).
The key to success in this project is using rags that are just damp (not wet) and leaving them soak moisture into the card board overnight.
Give it a try and let me know the results – good or bad. Also any tips to make this article better will be gratefully accepted. If you need any help just drop me an e-mail:
alittlemoreink@hotmail.comGood luck and . . .
Godspeed in Safety Fast
Jc
PS: DISCLAIMER – This article is about what I did with my kick-panels I am not responsible for the results of what you do with yours.
My Original Kick-panel
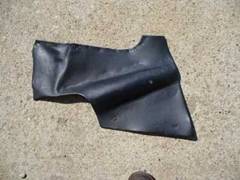
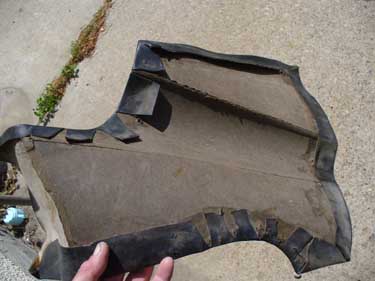
Kick-panel as removed from Back of the recovered original Original panel underneath
my TF (poorly re-covered in black) panel (part of the top is missing)
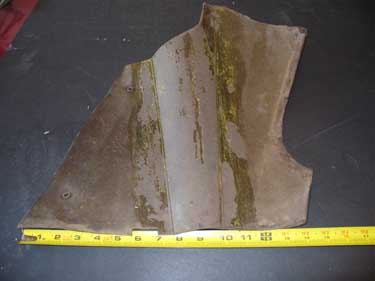
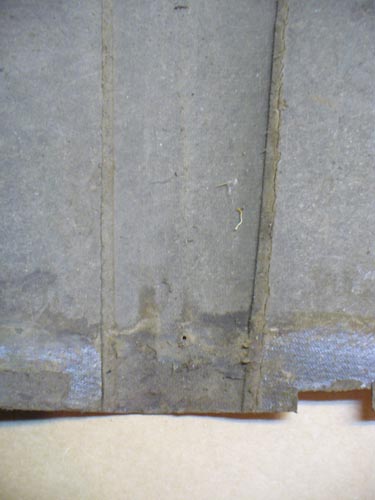
Measurements for the bends
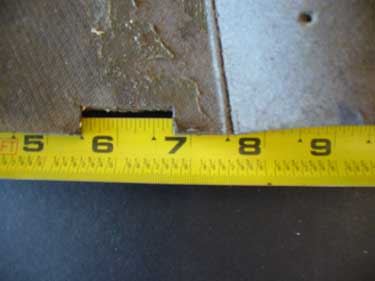
The first bend is on the bottom, 7 ½ in. from where the hide-em joins the kick-panel and the under-door panel. The notch at the 5 ½ to 6 ¾ mark is missing from the Moss panel. I did not have to cut it in to make it fit.
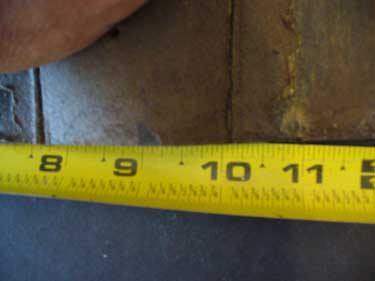
The bottom second bend 10 ¼ in. from the joined panels
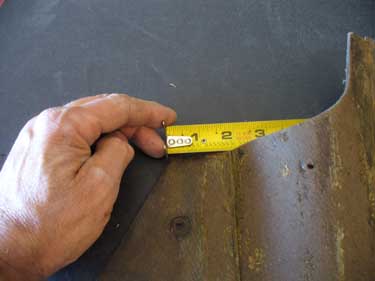
The first bend at top is 2 inches from the corner. The second top bend lines up with the notch at the top (see picture below)
![]()
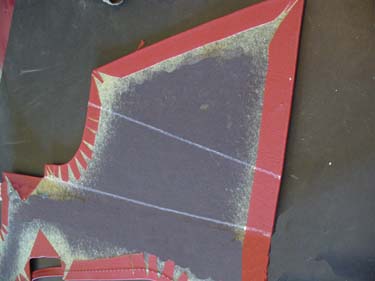 Moss Panel
calk-marked for bends
Moss Panel
calk-marked for bends
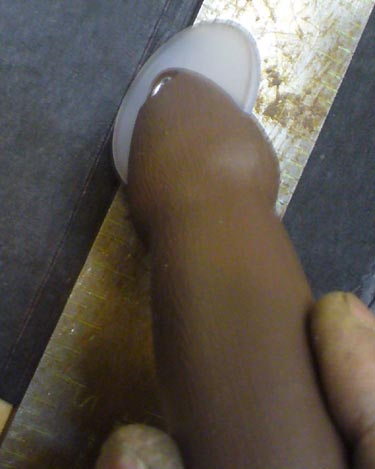
Molding the Kick-panel
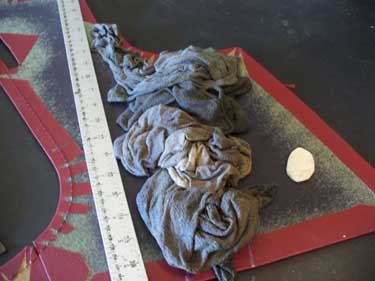
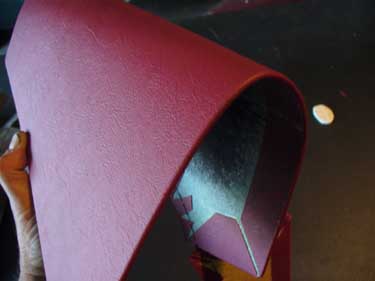
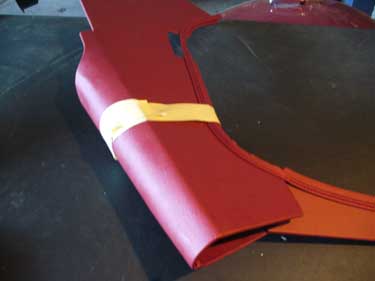
Damp rags left over night heat from a The panel is now easily formed Tape and leave dry for 24 hours
couple of hot water bottles will speed the
process. (White blob is Upholsterer’s chalk)
Now bend the kick-panel in a V-type metal break. I did these breaks after the panel was formed and dried.
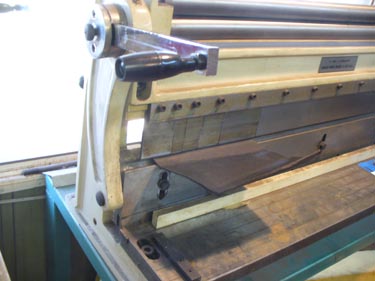
I practiced an scrap upholsterer’s cardboard
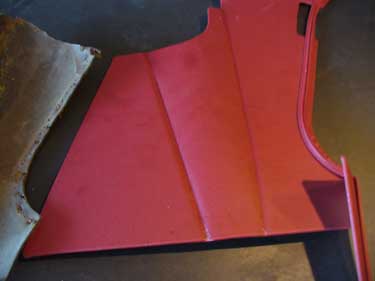
Moss panel after break
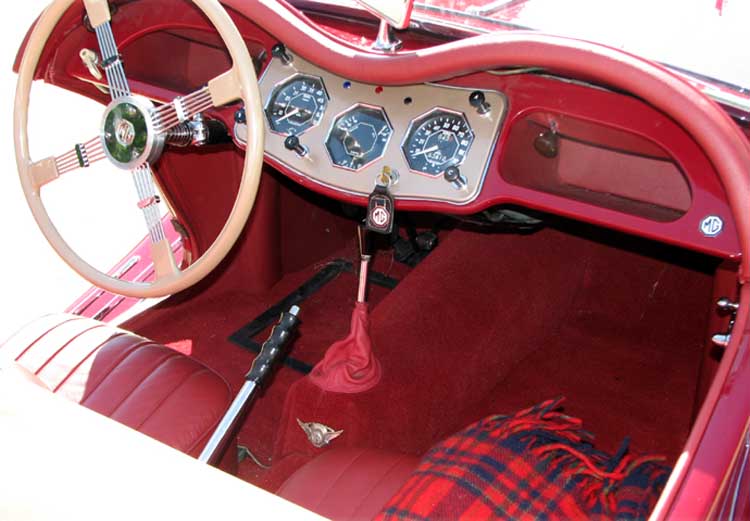
The panel installed in my TF (Tiffany)
Alternative method of bending
I tried this alternative method of bending a piece of upholsterer’s cardboard to see if it would work for those who did not have avccess to a v-type metal break.
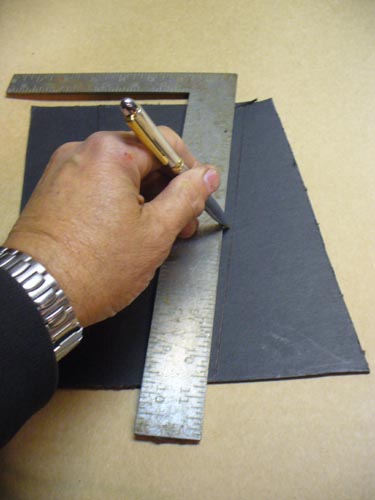

Marking the dampened test panel Press hard with the pen and mark two lines 1/8 inch apart for each bend
 Use a screen
installing roller to score the bends. I used the roller that does not have a
grove in it for the best results. Use a metal ruler as a guide and score two
parallel lines for each bend. The panel can now easily be bent along the
score.
Use a screen
installing roller to score the bends. I used the roller that does not have a
grove in it for the best results. Use a metal ruler as a guide and score two
parallel lines for each bend. The panel can now easily be bent along the
score.

I used the break to make one bend and bent the other by hand to compare the two methods
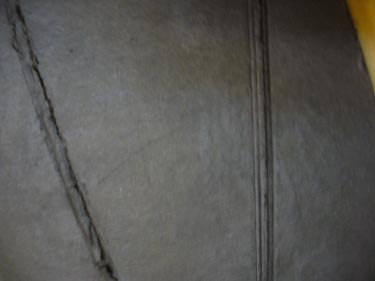
Original Panel Hand bend on Left, machine bend on right
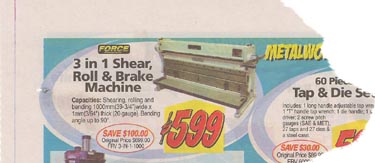
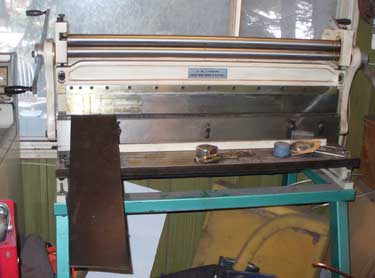
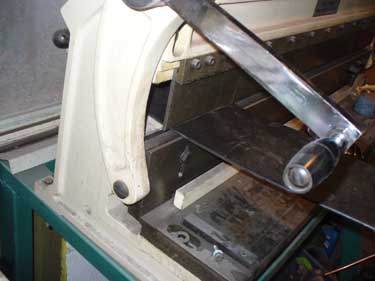
The break that I use
I only let the rags dampen the board for about 3 hours and I think that over night might give even better results. I also bent a crease with the machine so that you could compare. The machine is better but the bend is on the back of the panel and the end result should look the same.
So there you have it. Good luck . . .
If you wish to receive my monthly article "From the Littlemore Garage" just let me know. It is about what Dee and I do with our old British cars and bikes.
alittlemoreink@hotmail.comJc

email to:Bud@Ttalk.info