Ttalk.info
Ttalk Tech
Ttalk Tech
Holcombe Armature Kit Installation
(All images are thumbnails)
[Please note: Since publishing this web page I have learned that Jim Holcombe, NEMGTR Member #6603 passed away just about a year ago. BK, 2/28/05]
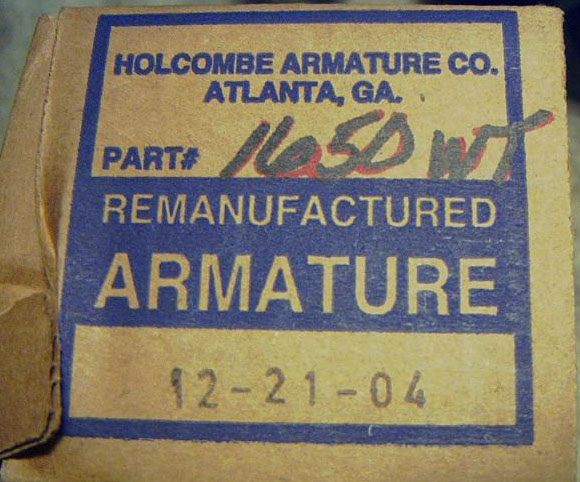
A fellow T-typer, James Holcombe of Atlanta, GA,owns a company called
Holcombe Armature. They specialize in electric motors and rewind
armatures. It seems that a couple of years ago Mr. Holcombe decided to
produce a kit to allow us to redo the innards of our dynamos. The kits
go for the very reasonable price of about $50. Santa Claus brought one
of the kits for Lazarus. It’s no secret that keeping a tight fan belt
raises havoc with the bearings and bushing inside of the generator. I
speak from experience. The Holcombe kit
 contains
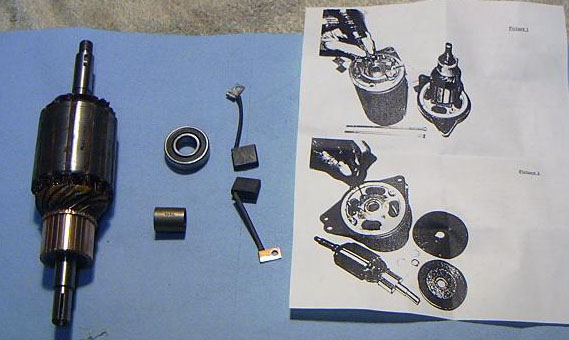 a
rewound armature, a new pair of brushes, a new front bearing, a new rear
bushing and a set of instructions for DIY'ers.
a
rewound armature, a new pair of brushes, a new front bearing, a new rear
bushing and a set of instructions for DIY'ers.
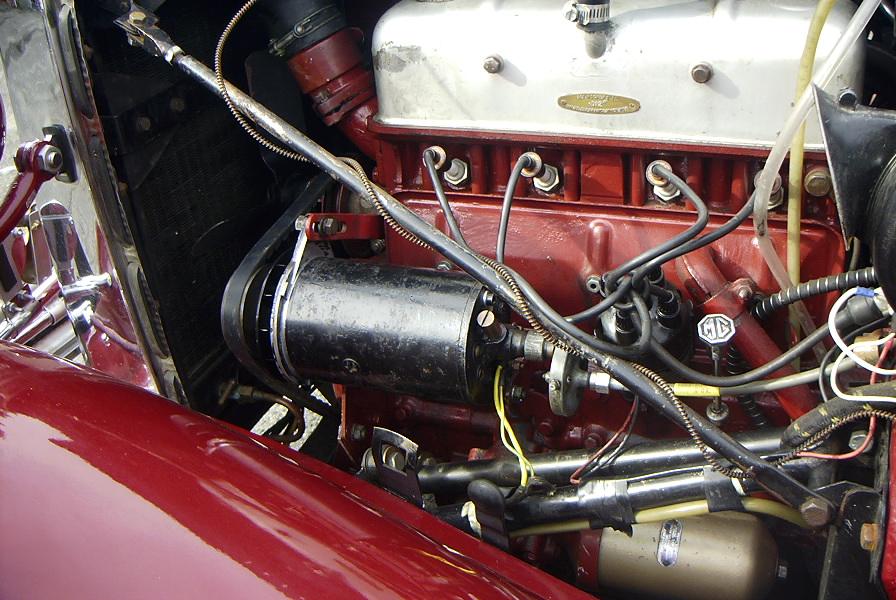
Installation of the kit was reasonably straight forward. The surprise
was in discovering that the bearing at the pulley end is retained by
some long rivets that have to be punched out. They were no longer usable
after being removed. They are an odd size and it will take some hunting
to find an equivalent. The instructions mentioned the use of nuts and
bolts. That's what I ended up doing. More about that below.
I also discovered that my cooling fan’s hole had become egg shaped so I
bought a new one.
The reassembly instructions are a bit over simplified. They
read, "Re-assemble the unit using replacement armature." The only tricky
part was getting the new brushes to slip onto the commutator when
putting it all together. Reinstalled the generator with a new NAPA
25-22392 fan belt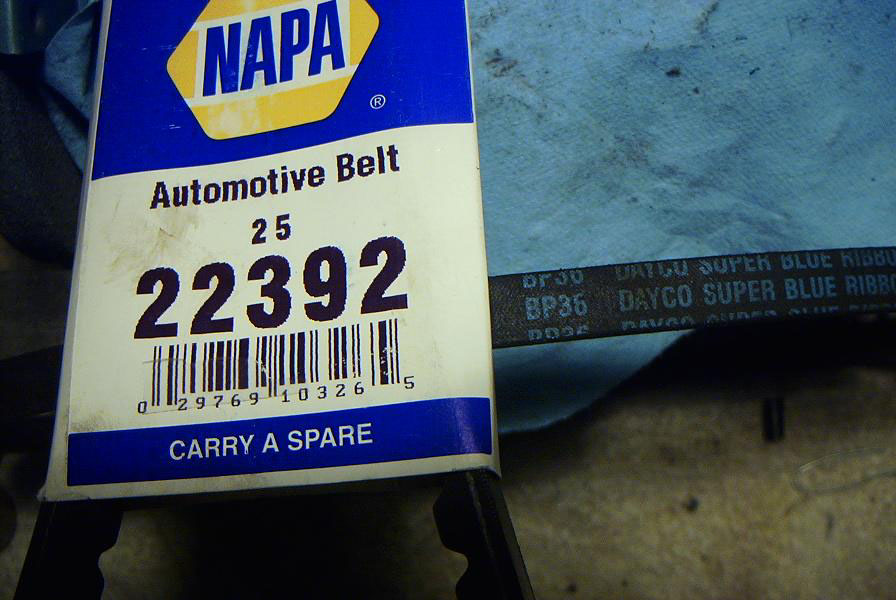 to replace the Dayco BP-36, and fired it up. Works fine.
What about the things that were learned? You can read the Holcombe Installation instructions from a .pdf file by clicking here. They do tend to oversimplify the task a bit.
Disassembly was reasonably straight forward. Take out the
through bolts
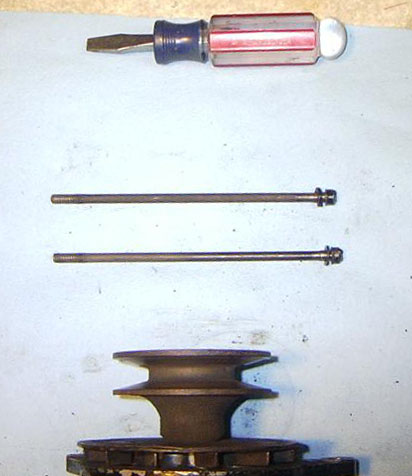 ,
give a couple of taps with a rubber mallet and it's opened
,
give a couple of taps with a rubber mallet and it's opened
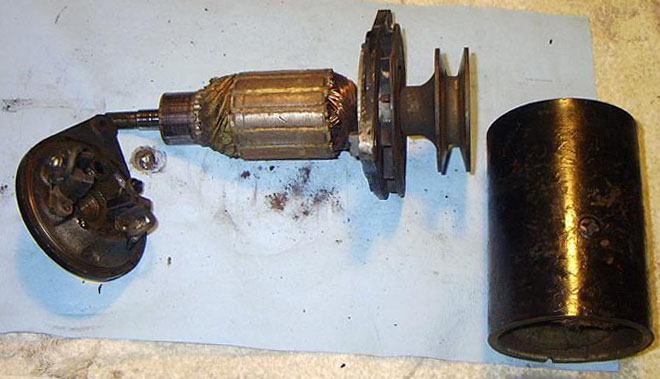 .
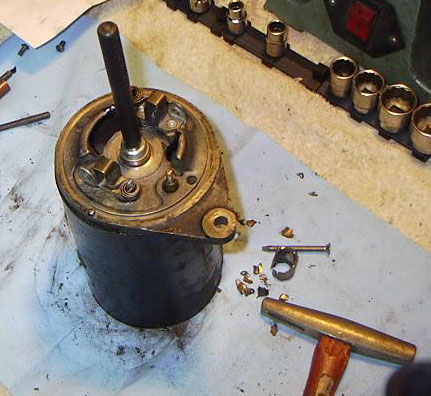
Now wrap some rubber around the armature and clamp it in a vice
.
Now wrap some rubber around the armature and clamp it in a vice
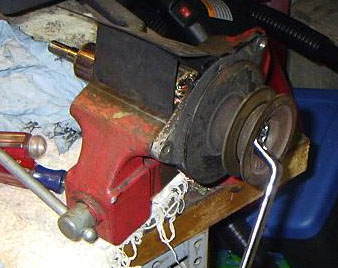 while you loosen the nut and it all comes apart
 .
.
It was my experience that the bronze bushing was not in a mood to
come out easily. A 1/4 inch chisel was too wide, so I ground an
edge onto a screw and used it. By the time I was finished the
bushing was in a lot of little pieces.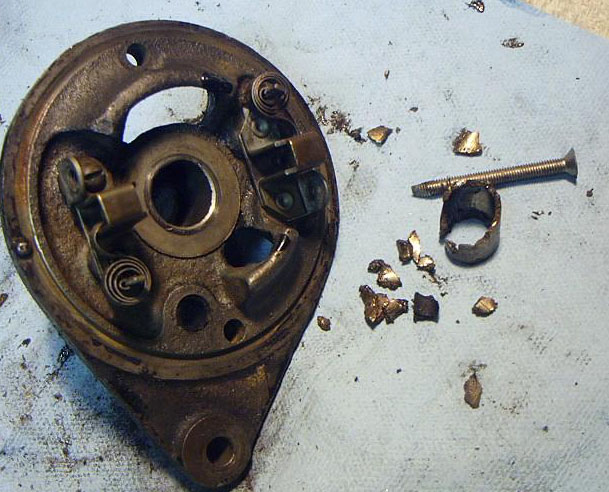
(The following was suggested by Bob Jeffers on 2/19/09:
I had occasion this morning to have to remove the rear bushing from one of our "T" series generators. I used a 3/8 - 16 NPT. tap, threading it in from the armature side about 3/8 in. Then with a 1/4" drift from the tachometer side and a hammer the bushing came out as slick as you please.
I forgot to put the dimensions of the bushing in
the above note. Just in case some hardware store has one.
Must press into a 0.710" hole, so about 0.713" O.D.
The armature shaft measures 0.587" so bearing S/B about 0.590" I.D. when
installed.
I think that indicates that the shaft is a metric size. Closest would be
15 mm.)
Can't say as how I like their installation technique of using a
screwdriver for a guide to install the new one. I used a driver
 and it went in fine.
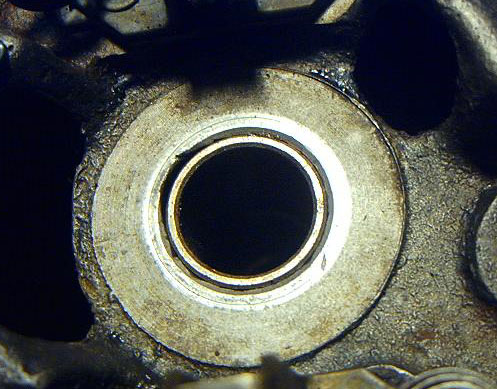 BTW, I soaked the bushing in light oil for a day before I installed it.
The pulley end was a bit of a learning experience. The retainer
rivets are not something that you'll find at your neighborhood Home
Depot. I ended up replacing them with 8-32 pan head screws with
nyloc nuts.
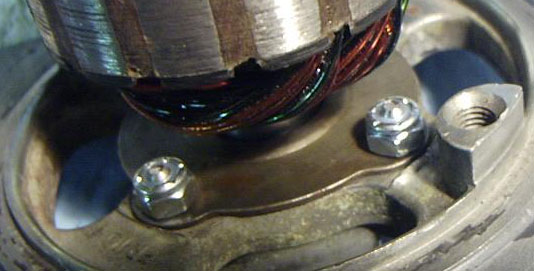 The pan heads are thin enough to fit under the fan and, with the screws
cut to length, the nylocs will clear the armature.
The pan heads are thin enough to fit under the fan and, with the screws
cut to length, the nylocs will clear the armature.
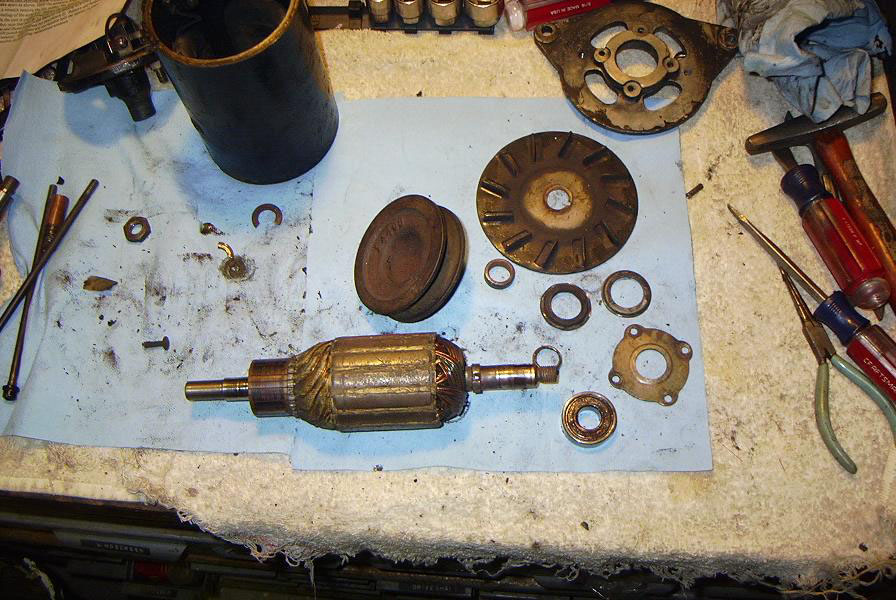
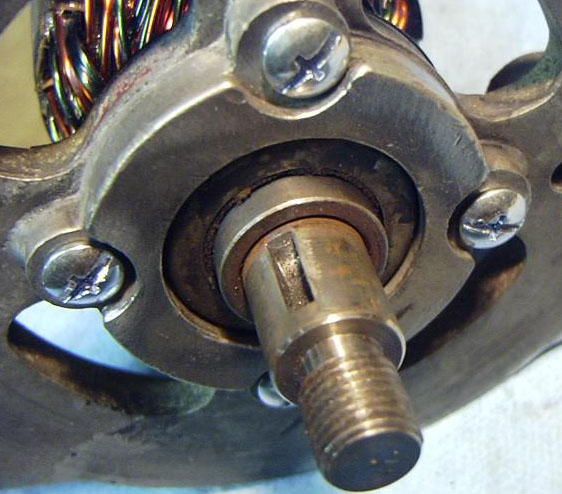
There are a number of components on the armature shaft that will
determine how it goes together at the pulley end. At the inside there is
a split ring
![]() that
fits into a groove in the shaft. There is a cap that goes over the
ring
that
fits into a groove in the shaft. There is a cap that goes over the
ring
![]() .
The inner race of the bearing will locate against the end of this cap.
You'll find that you have to give some thought to how far over the split
ring you press this cap. The order of assembly from this point out is
.
The inner race of the bearing will locate against the end of this cap.
You'll find that you have to give some thought to how far over the split
ring you press this cap. The order of assembly from this point out is
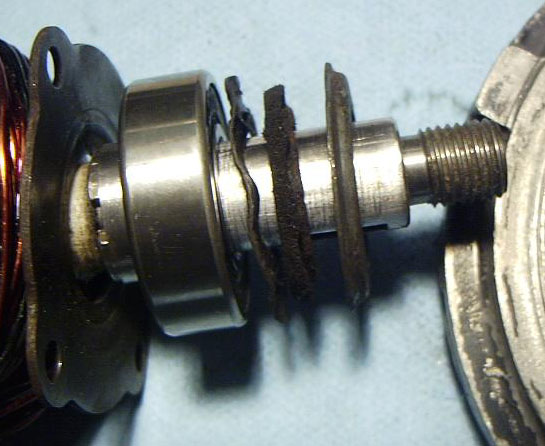 plus one more spacer that goes onto the shaft before the pulley goes on
.
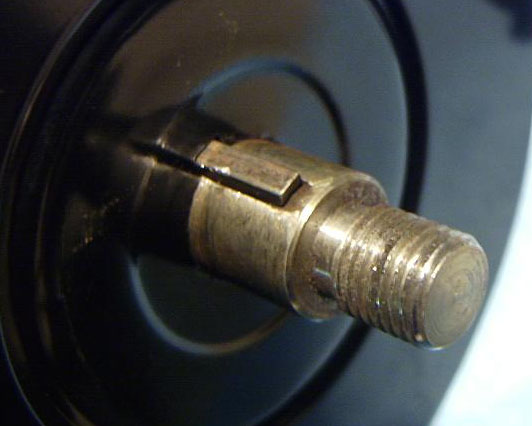
Here's where I ran into a snag. I discovered why the center hole of my
fan was oval-shaped. It was free to rotate around the shaft. It
was not being located by the woodruff key.
plus one more spacer that goes onto the shaft before the pulley goes on
.
Here's where I ran into a snag. I discovered why the center hole of my
fan was oval-shaped. It was free to rotate around the shaft. It
was not being located by the woodruff key.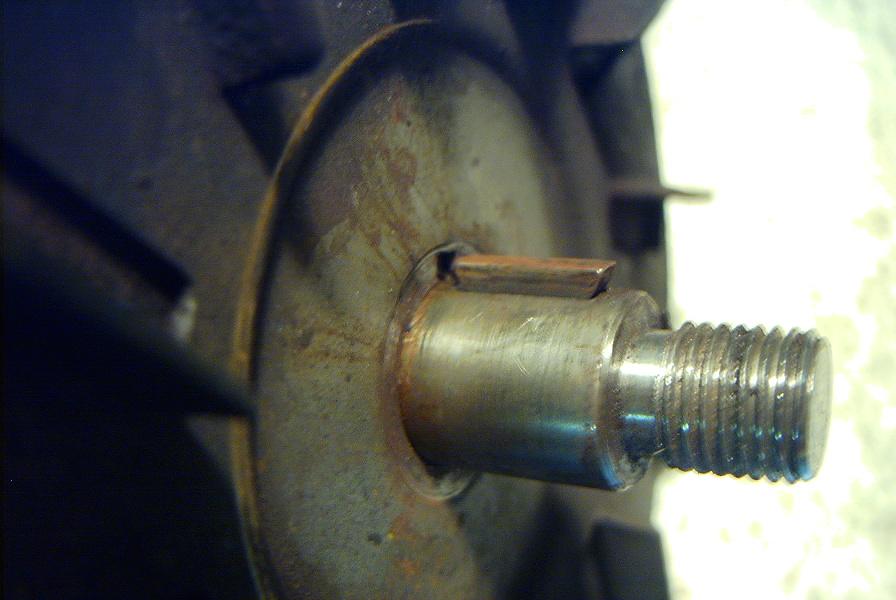 (I
know, the blades go the other way. I just slipped it on for the
photo.) After a few measurements and a look through the bench goodie box
I was able to come up with a washer that was just thick enough to bring
the new fan onto the key.
(I
know, the blades go the other way. I just slipped it on for the
photo.) After a few measurements and a look through the bench goodie box
I was able to come up with a washer that was just thick enough to bring
the new fan onto the key.
The rest is, as they say, the reverse of disassembly. That's
once you get the knack of slipping the new brushes onto the commutator.
The late David DuBois long advocated, and wrote about, the desirability
of using the proper fan belt for our cars. The NAPA 25-22392 belt
![]() was what I used for the reinstallation. See below for a link to David's
article on belt tension.
was what I used for the reinstallation. See below for a link to David's
article on belt tension.
All in all it was a fairly easy task and at a very reasonable cost. With the usual disclaimers, you could contact : Holcombe Armature Co., 905 Rockmart Rd., Villa Rica GA 30180, (770)-459-5544.
To see the late David DuBois' pdf article on fan belt tension click here

email to:Bud@Ttalk.info
cellphone - 508-317-9412 (text okay)