Ttalk.info
Static Timing of Pertronix Igniter
Note: This is only valid for negative ground systems.
This page is expected to follow the instructions for installing a
Pertronix Igniter in a negative ground system.  The original
installation page can be viewed by clicking here.
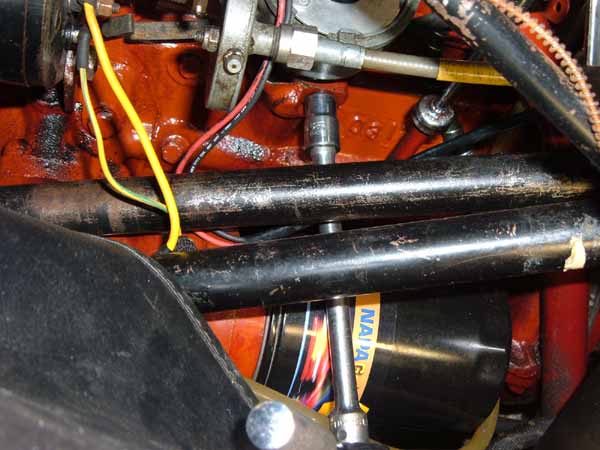
I've been asked to add a bit more to the idea of doing the static
timing of a Pertronix Igniter. Today (January 28, 2007) was a day
of perfect timing (no pun intended) for doing it.  Last October I
removed the Igniter from my TD so that I could use it to
demonstrate how to install one. I've been running with points for
the past three months and decided to reinstall the Pertronix and
try to better document the static timing.
First thing I did was to take the car out for a spin to be sure that
it would art easily and that everything was in good order.
I unsnapped the handcrank from the back seat and dug out my test
light.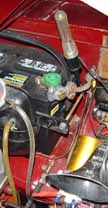 It's just a simple light bulb in a clear housing
with a point at one end and a long clip lead at the other end. I
checked the static timing with the points by connecting the clip
lead of the test lamp to the coil terminal that connects to the
distributor. I could have also connected it to the terminal on the
side of the distributor. The pointed end of the test light was
shoved into the ground braid between the battery's negative
terminal and the tub.
It's just a simple light bulb in a clear housing
with a point at one end and a long clip lead at the other end. I
checked the static timing with the points by connecting the clip
lead of the test lamp to the coil terminal that connects to the
distributor. I could have also connected it to the terminal on the
side of the distributor. The pointed end of the test light was
shoved into the ground braid between the battery's negative
terminal and the tub.
With the lamp connected, I set the hand brake, put the gearbox in neutral and turned on the ignition. I turned the engine over until the test lamp came on at about TDC.I'm sort of fussy about timing for cylinder #1, so I removed the cap to see where the rotor was pointing
and to be certain of the orientation of the plug wires:
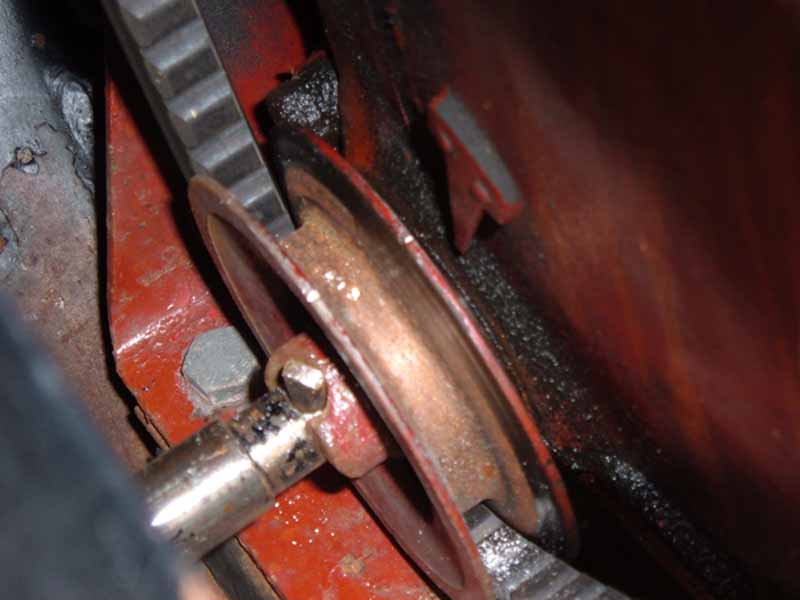
.The crank pulley timing marks showed a slight advance, so I carefully nudged the hand crank until the pointer was directly over TDC
.
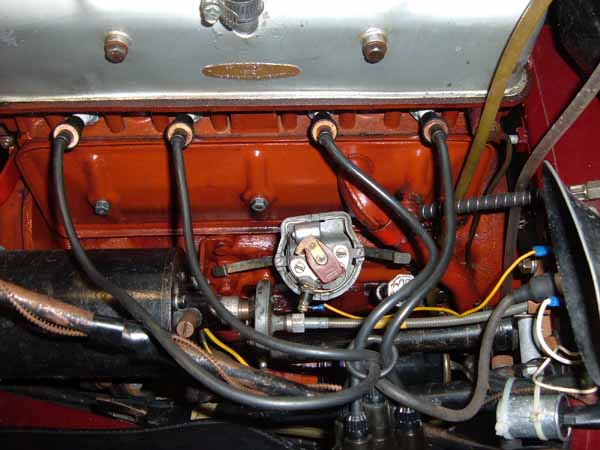

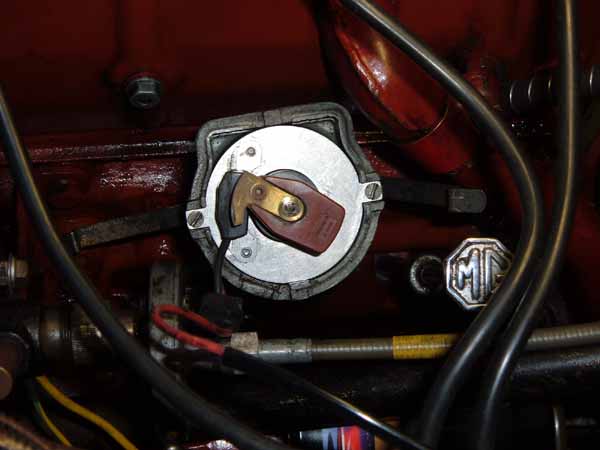
Next step was to turn off the ignition and remove the points plate. Note that I leave the wire attached to the terminal on the points plate and just unplug the wire from the - terminal of the coil. That way I can easily reinstall the points if it's ever necessary. Next step was to reinstall the Pertronix plate
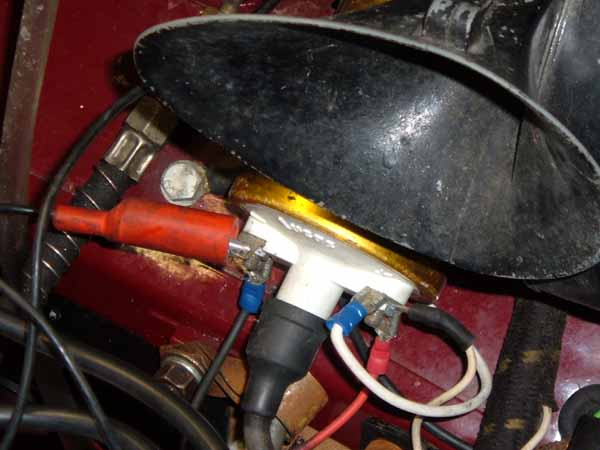
. Remember to slide the magnetic sleeve over the distributor cam and rotate it into position. And, don't forget the rotor. Next step is to connect the Pertronix wires onto the coil. Black wire onto - terminal and red onto + terminal
You might note that the clip lead from the test lamp is connected to the - terminal. Now switch on the ignition and rotate the crank until the lamp comes on
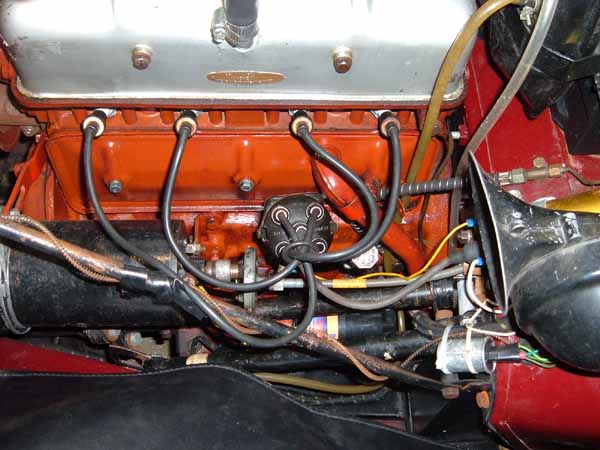
. Again, I check the rotor orientation to assure that I'm at the firing position for cylinder #1. Next take a look at the timing marks. As you can see here, the timing would be significantly advanced upon assembly:
. In the image I've put the letters TDC at the TDC mark of the pulley. This advance is just the effect of the location of the magnets in the sleeve relative to the Hall-Effect sensor in the Pertronix module. It is this effect that we are adjusting out by setting the timing.

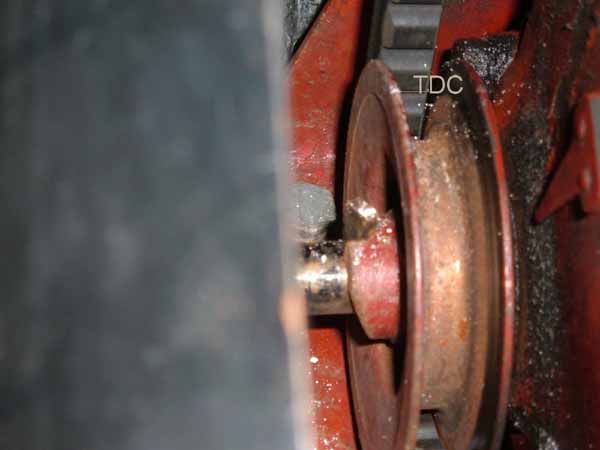
Next step is to loosen the distributor clampso that you can rotate the distributor body without a lot of effort. Now, rotate the crank until the timing marks are again at TDC for cylinder #1
That's it!!  You've now set the static timing of the ignition to
TDC. Lock down the distributor clamp and check your work.  Do this
by rotating the crank two full revolutions while watching the test
lamp.  You should see the lamp light just as the TDC mark is below
the pointer.  If not, just set the crank at TDC, loosen the clamp
and repeat CCW 'til OFF and CW 'til ON. That's really all there is
to it.  You can set the timing for an advance if you want to you by
these same steps.
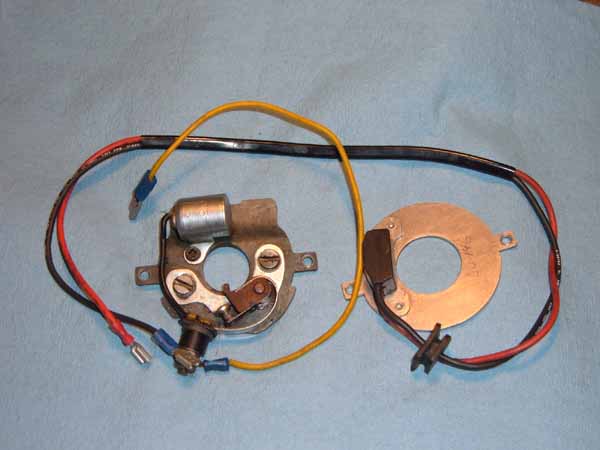
Here are views (not thumbnails)of the distributor with the point system and with Pertronix. The angle of rotation of the cap is indicative of the physical differences of the two systems, Points:Pertronix:
.
Good Luck --- Bud

email to:Bud@Ttalk.info
URL:http://www.ttalk.info/PertronixStaticNeg.htm
Jan. 30, 2007
Jan. 30, 2007